Performance driven
Curated by design
Good night, sleep tight.
Cozy up for the night.
No need to drip-dry.
Have plenty to go 'round.
It's just a little spill.
Things are heating up.
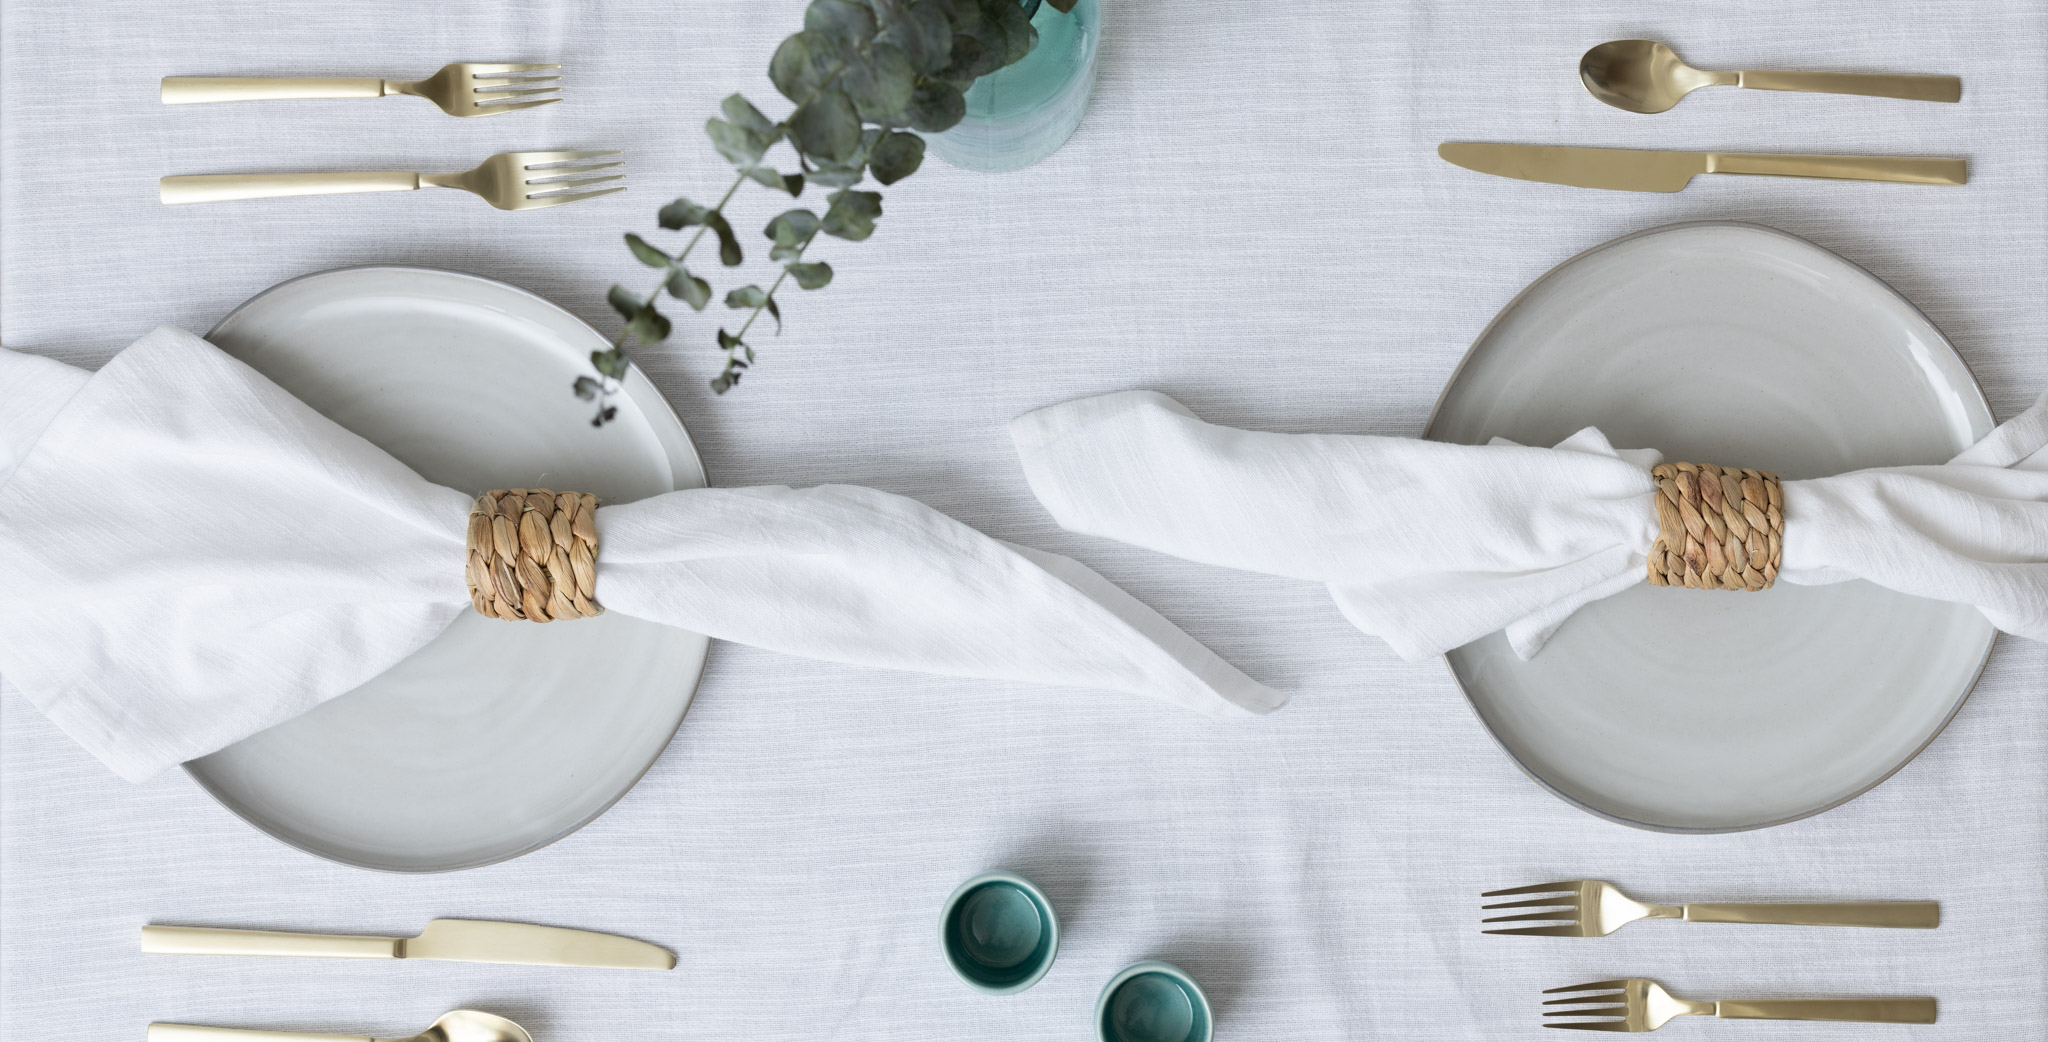
Set it up.
It's all about the details.
Shop Table
Shop Bedding
About Us
Visit the Blog
Help & FAQ